Gallery
These are photos that show what we can do. Images below here are before and after images .. some of which will be still photos from videos that we have taken during jobs. Still photos from videos may not be totally in focus but will show the transformation that has taken place.
The more recent photos are at the top so if you have been here before you can see the latest updates easily. The background colours of the page will alternate so you can see when a new section starts more easily.
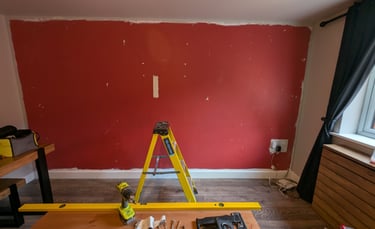
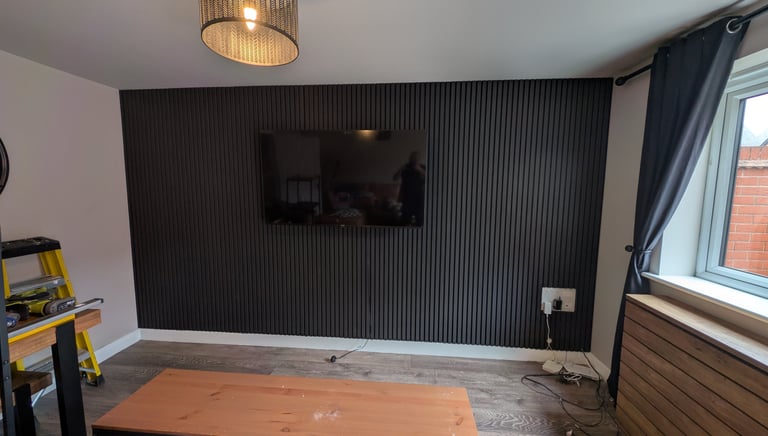
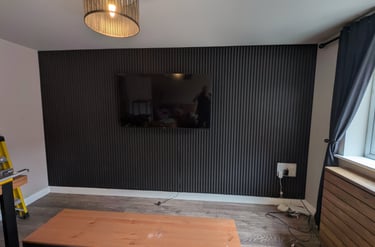
Acoustic Panels can have a big impact on the feel of a room. In this our customers wanted to change what the previous people had but retain the TV wall mount.
It takes a little bit of care but it is perfectly possible to fit acoustic panels around existing features like sockets and panels as you can see in the bottom right of these pictures. As usual I didn't take the 'before' photo early enough and some of my tools are enjoying being on display!
The customers have units to go along the wall underneath the wall mount so the wires and socket panel in the corner will be hidden.
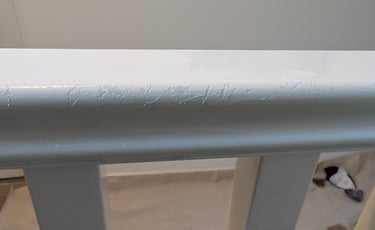
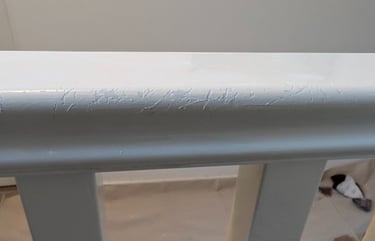

Whilst John was busy refreshing this customers kitchen, Suzy got the job of renewing the banisters, spindles, skirting and door frames in a landing and stairs that was quite the job. Two young kittens had been clawing at the woodwork and left deep scratches in rails and spindles.
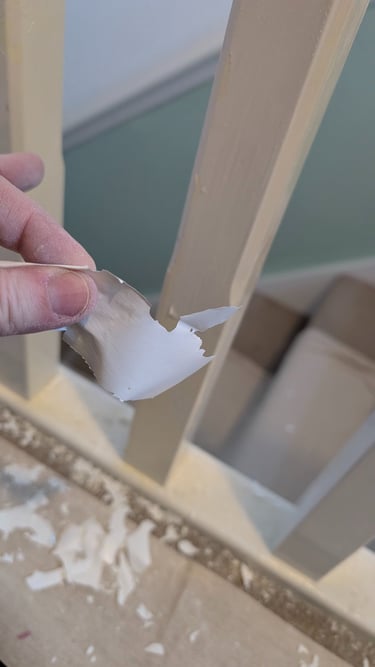
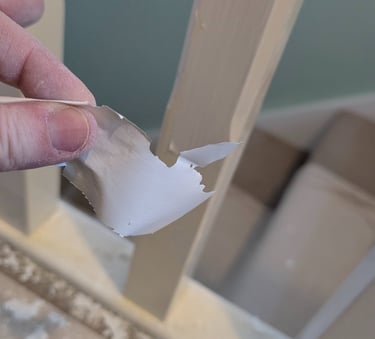
This meant the whole thing needed sanding back and it was then that it became apparent that the top layer of previous paint had not bonded to the paint underneath ... meaning it all came peeling away in chunks. A case of Suzy needing to take this right back and prep properly before finishing with Dulux Trade Satinwood to give a much nicer finish.
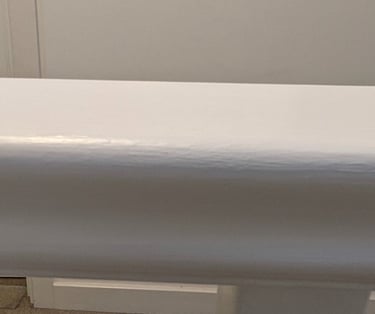
The images below are a 'before' of some of the scratches, a 'during' showing the old paint coming away and a close up of the 'after' that shows a much nicer finish.
We posted this one to social media and the customer commented on the post ...


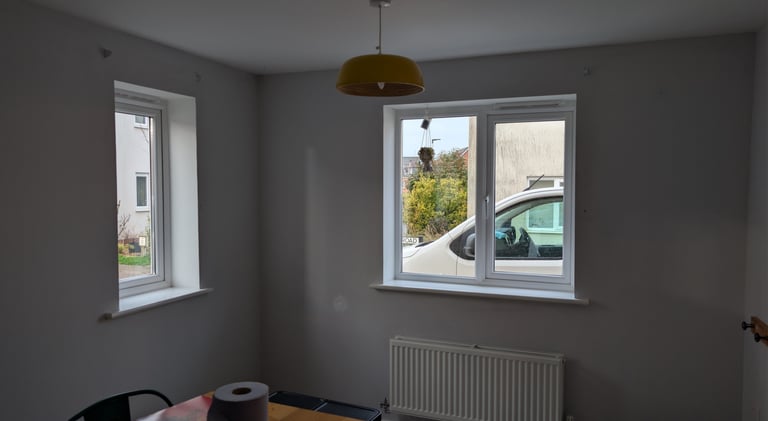
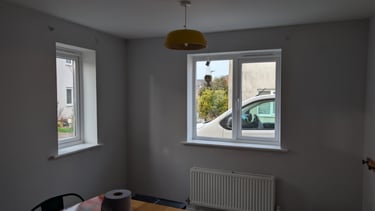
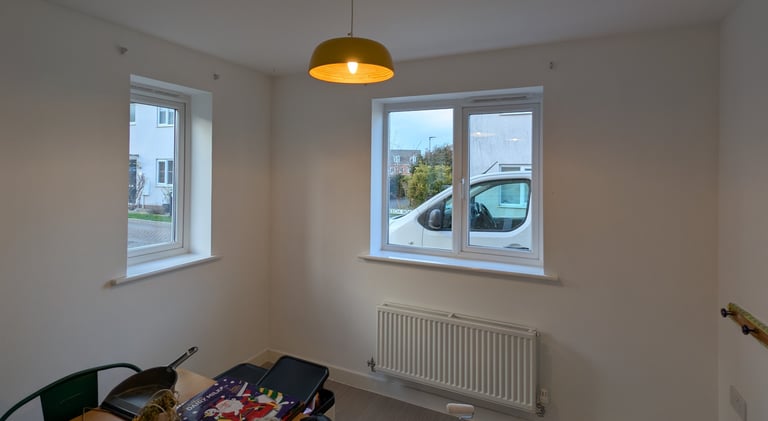
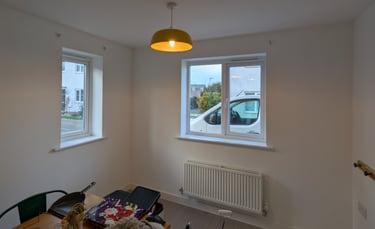
Pictures speak volumes ... before and after in a kitchen diner in this pair of images. Grey on the walls being banished by a nice, clean looking white that brightens up the room nicely. We used Dulux Trade Diamond Matt in Brilliant White for this room as it is gives a nice finish that is durable and can be gently wiped clean of marks.
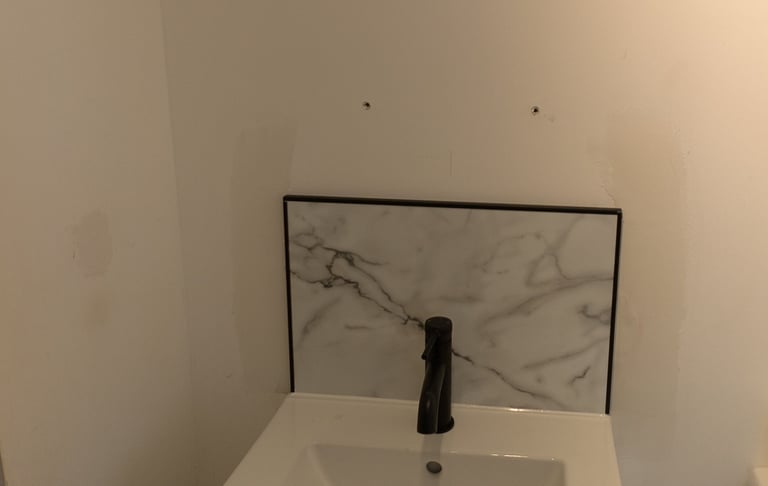
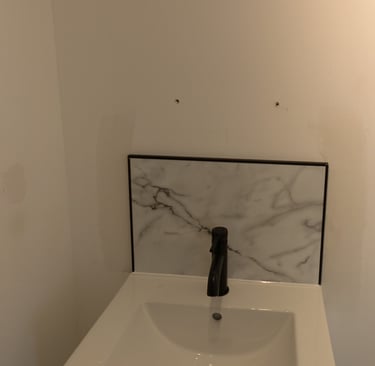
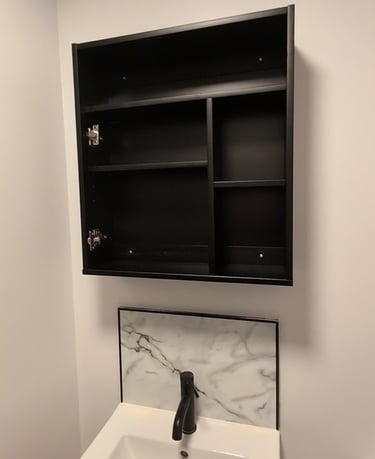
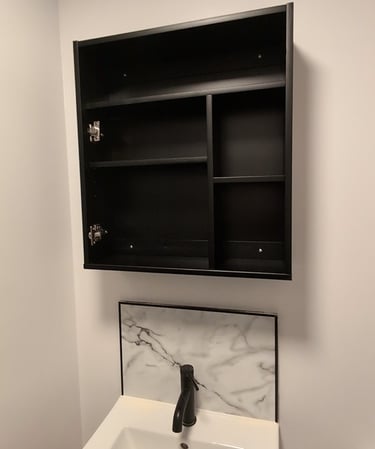
Richie and Rowan got in touch about their ensuite bathroom. Typical of more modern builds this one has no window and has issues with the paper tapes lifting as well as plaster board fixings and stains on the ceiling. The builders had sent a man round previously who 'filled' the tapes .. put filler on top of the problem with addressing the cause.
John did this job. I quoted a couple of days as that what it normally takes me to do an ensuite ... but when I got in to the job I found the depth of the issues and needed to address them properly to ensure the finish.
So I did the following. Mould treatment to kill the spores, removed a lot of the tapes, filled, sanded, filled again as needed, sanded. This is what the builders man should have done. You can't fill over tapes that are not longer stuck to the substrate properly. They have to be removed and replaced/filled
I also widened and filled joints in the ceiling, removed silicone that was no longer sealing around the shower and ceiling, filled and sanded previously badly filled holes and work around the tiling. I then applied peel stop and cover stain where needed before I applied base coat to the walls, then two coats of Dulux white on the ceiling and two coats of Dulux 'rock salt' on the walls.
The extra time was needed between all of these things to allow each step of the job time to dry properly before I could move on to the next stage. Finished the job by putting new silicone around the top of the shower, installing the new bathroom cabinet to the wall and a new light fitting on the ceiling.
I've a selection of before and after shots below. It was satisfying for me to look at the finish achieved and Richie & Rowan left this review HERE .. it is safe to say they are very happy with what I did!
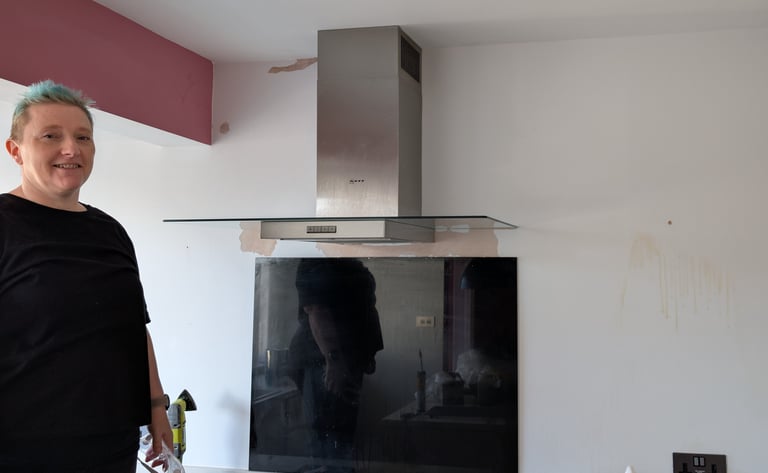
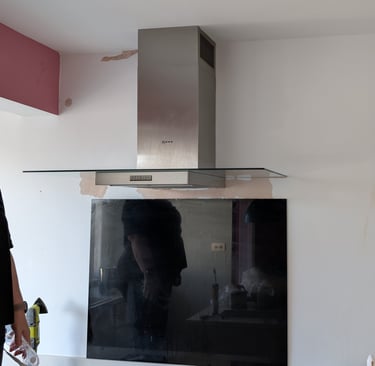
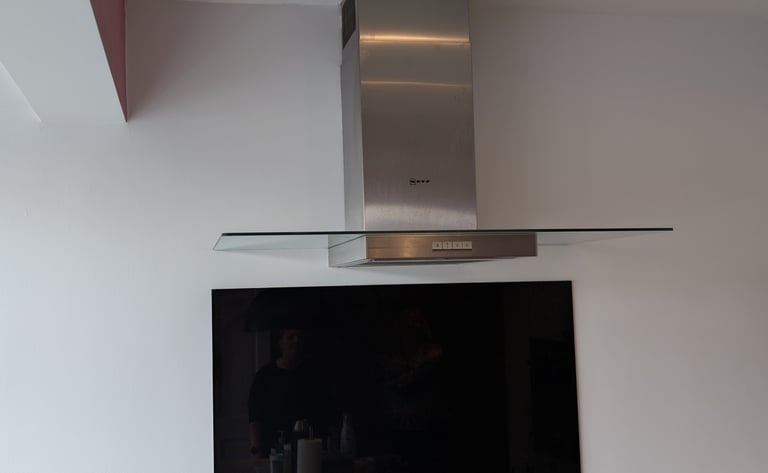
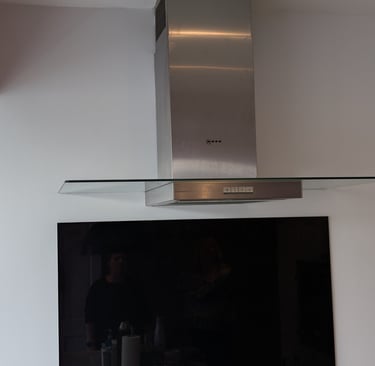
Sharon needed help with her kitchen walls, door and skirting in the kitchen, staircase woodwork and a wall in her lounge. The staircase woodwork needed a little filling of some holes but other than that the most things were quite straightforward.
The tricky part of this job was the peeling paint in the kitchen around the cooker end. You can see from the first photo that Suzy had started removing the paint that was peeling and bubbling on the wall around and above the extractor. You may also make out the 'drips' on the right of the wall above where the kettle was situated.
This we treated by taking it back and removing any original paint that was lifting, treating it where appropriate with Zinsser Gardz, Zinsser Peel Stop & Zinsser Bin 1-2-3 sealant primer before using a Dulux Diamond Matt to colour match the original China White colour on the walls.
The issues here were being caused by a lot of steam and moisture in that end of the kitchen ... what looks like an extractor fan is actually one that does not vent outside but rather just moves the warm, moist air around by blowing it out the vents at the top of the hood. Sharon has now moved her kettle to stop the steam from causing those 'drips' on the wall as well.
It was a pleasure to do this for Sharon and we were lucky enough to receive this review HERE
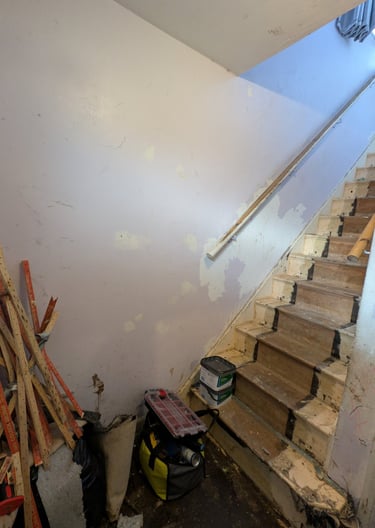
Patsy contacted us about a wall that had wallpaper on it that she was not a fan of and asked if we could remove it and paint it white. Below are some before, during and after photos.
Suzy did this job. It involved removing the wallpaper, washing down the wall to remove the paste residue, sanding, sealing with Zinsser Gardz and finishing with multiple coats of a brilliant white. Patsy was happy and left this review for us HERE
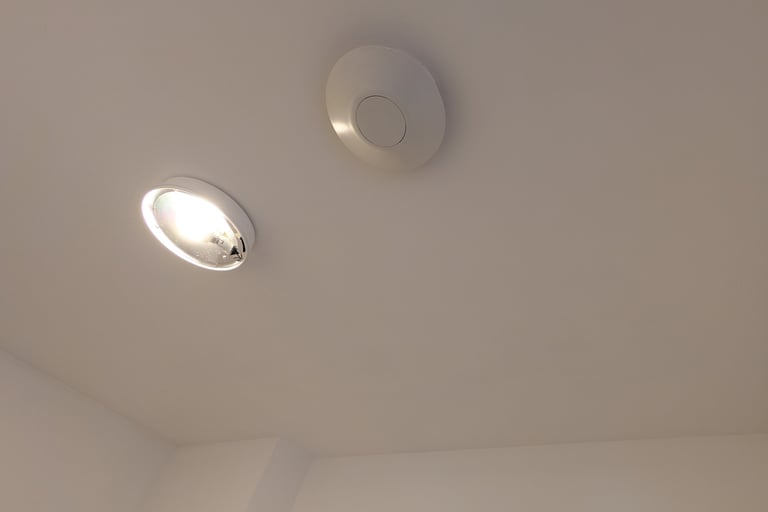
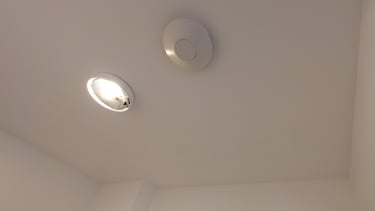
We had a customer who customer who needed repairs and a refresh doing to an ensuite shower room
There are two videos here. The first shows the issues before we worked on it and the second is an after video of what we achieved.
Before
After
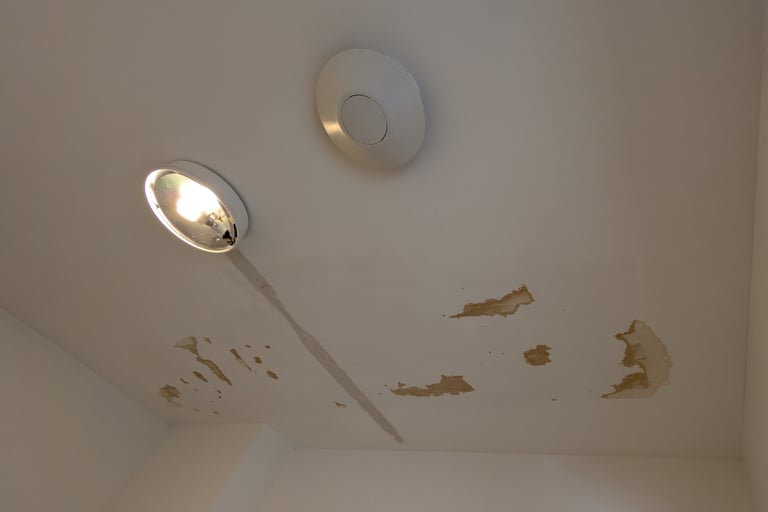
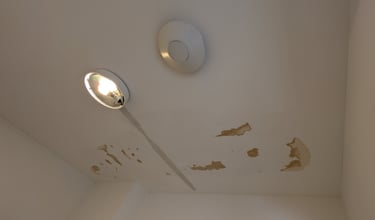
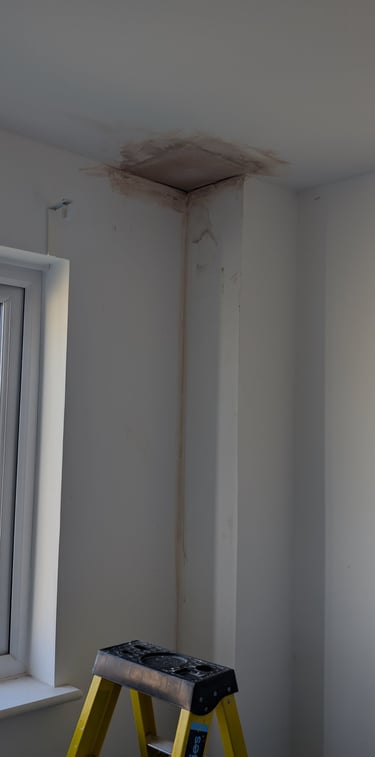
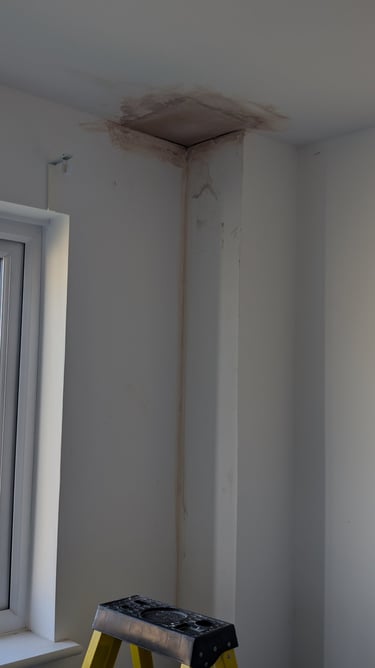
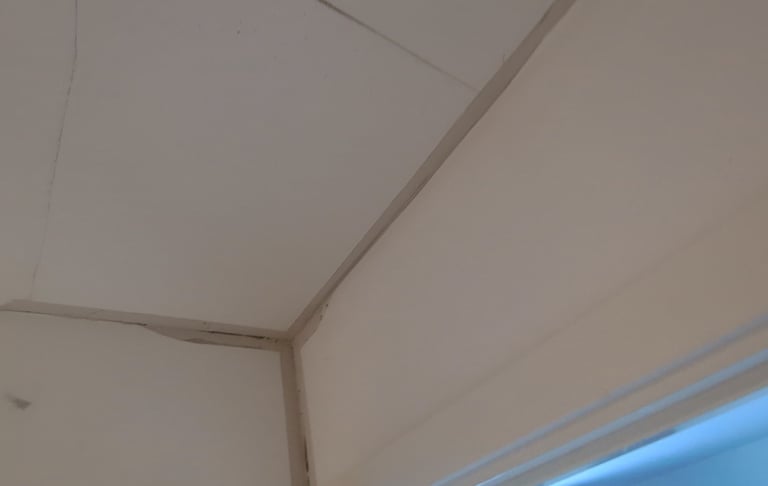
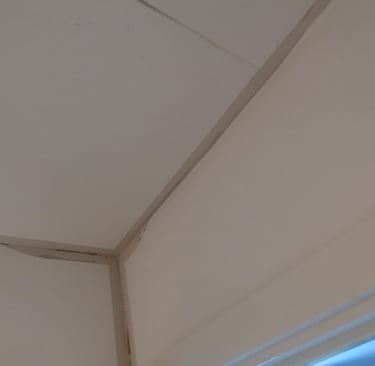
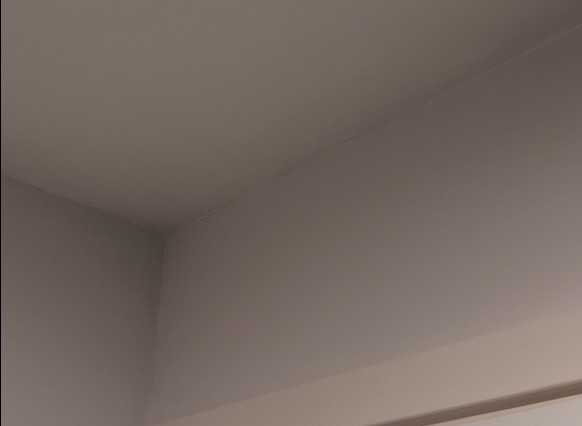
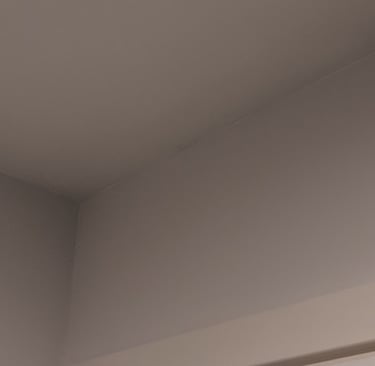
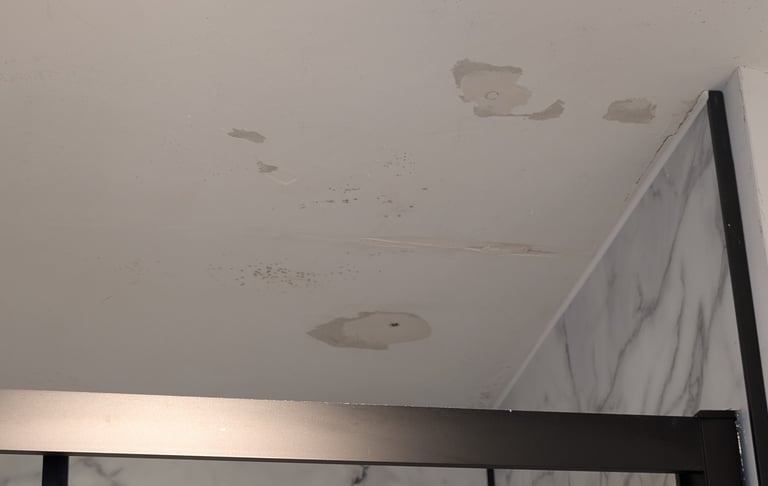
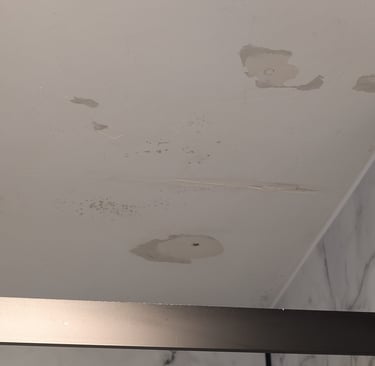
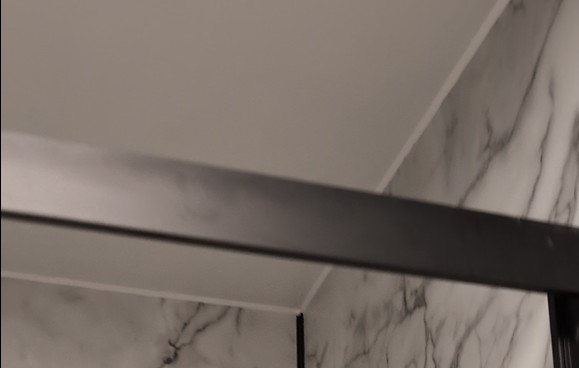
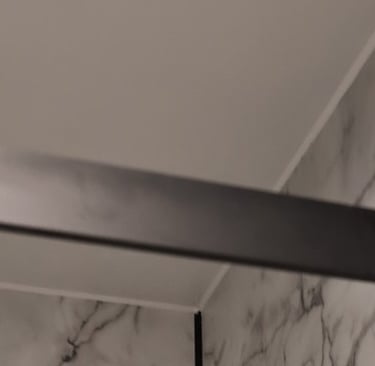
We had a customer contact us about two ceilings that had water damage. A bathroom with damage from a shower that had previously overflowed upstairs. The sitting room had another leak that had required a plumber to fix piping. The plumber had patched the ceiling and left a bare plaster patch that had dripped down the corner of the room.
We talked the customer through how we would fix these issues and what filling materials & specialist sealants/stain covers we would use before applying top coat. The whole bathroom was finished in a mould and moisture resistant paint and the other room finished in the original paint that the customer had.
The photos below show before and afters of the bathroom ceiling and the patched ceiling in the other room.
Nikki was kind enough to leave us a review about this job and you can read that on our reviews page HERE
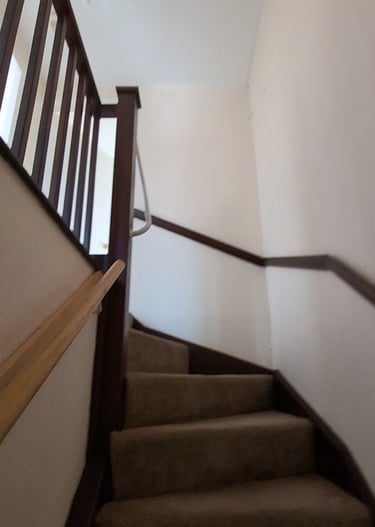

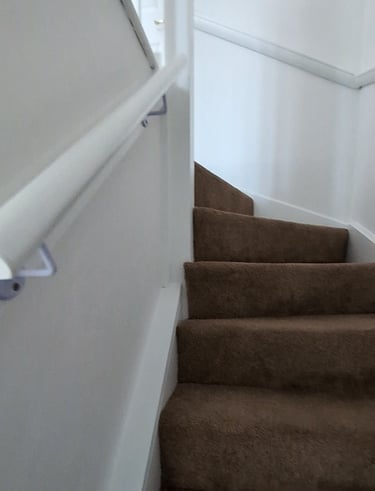
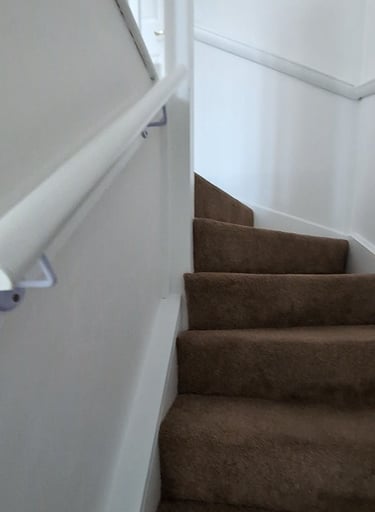
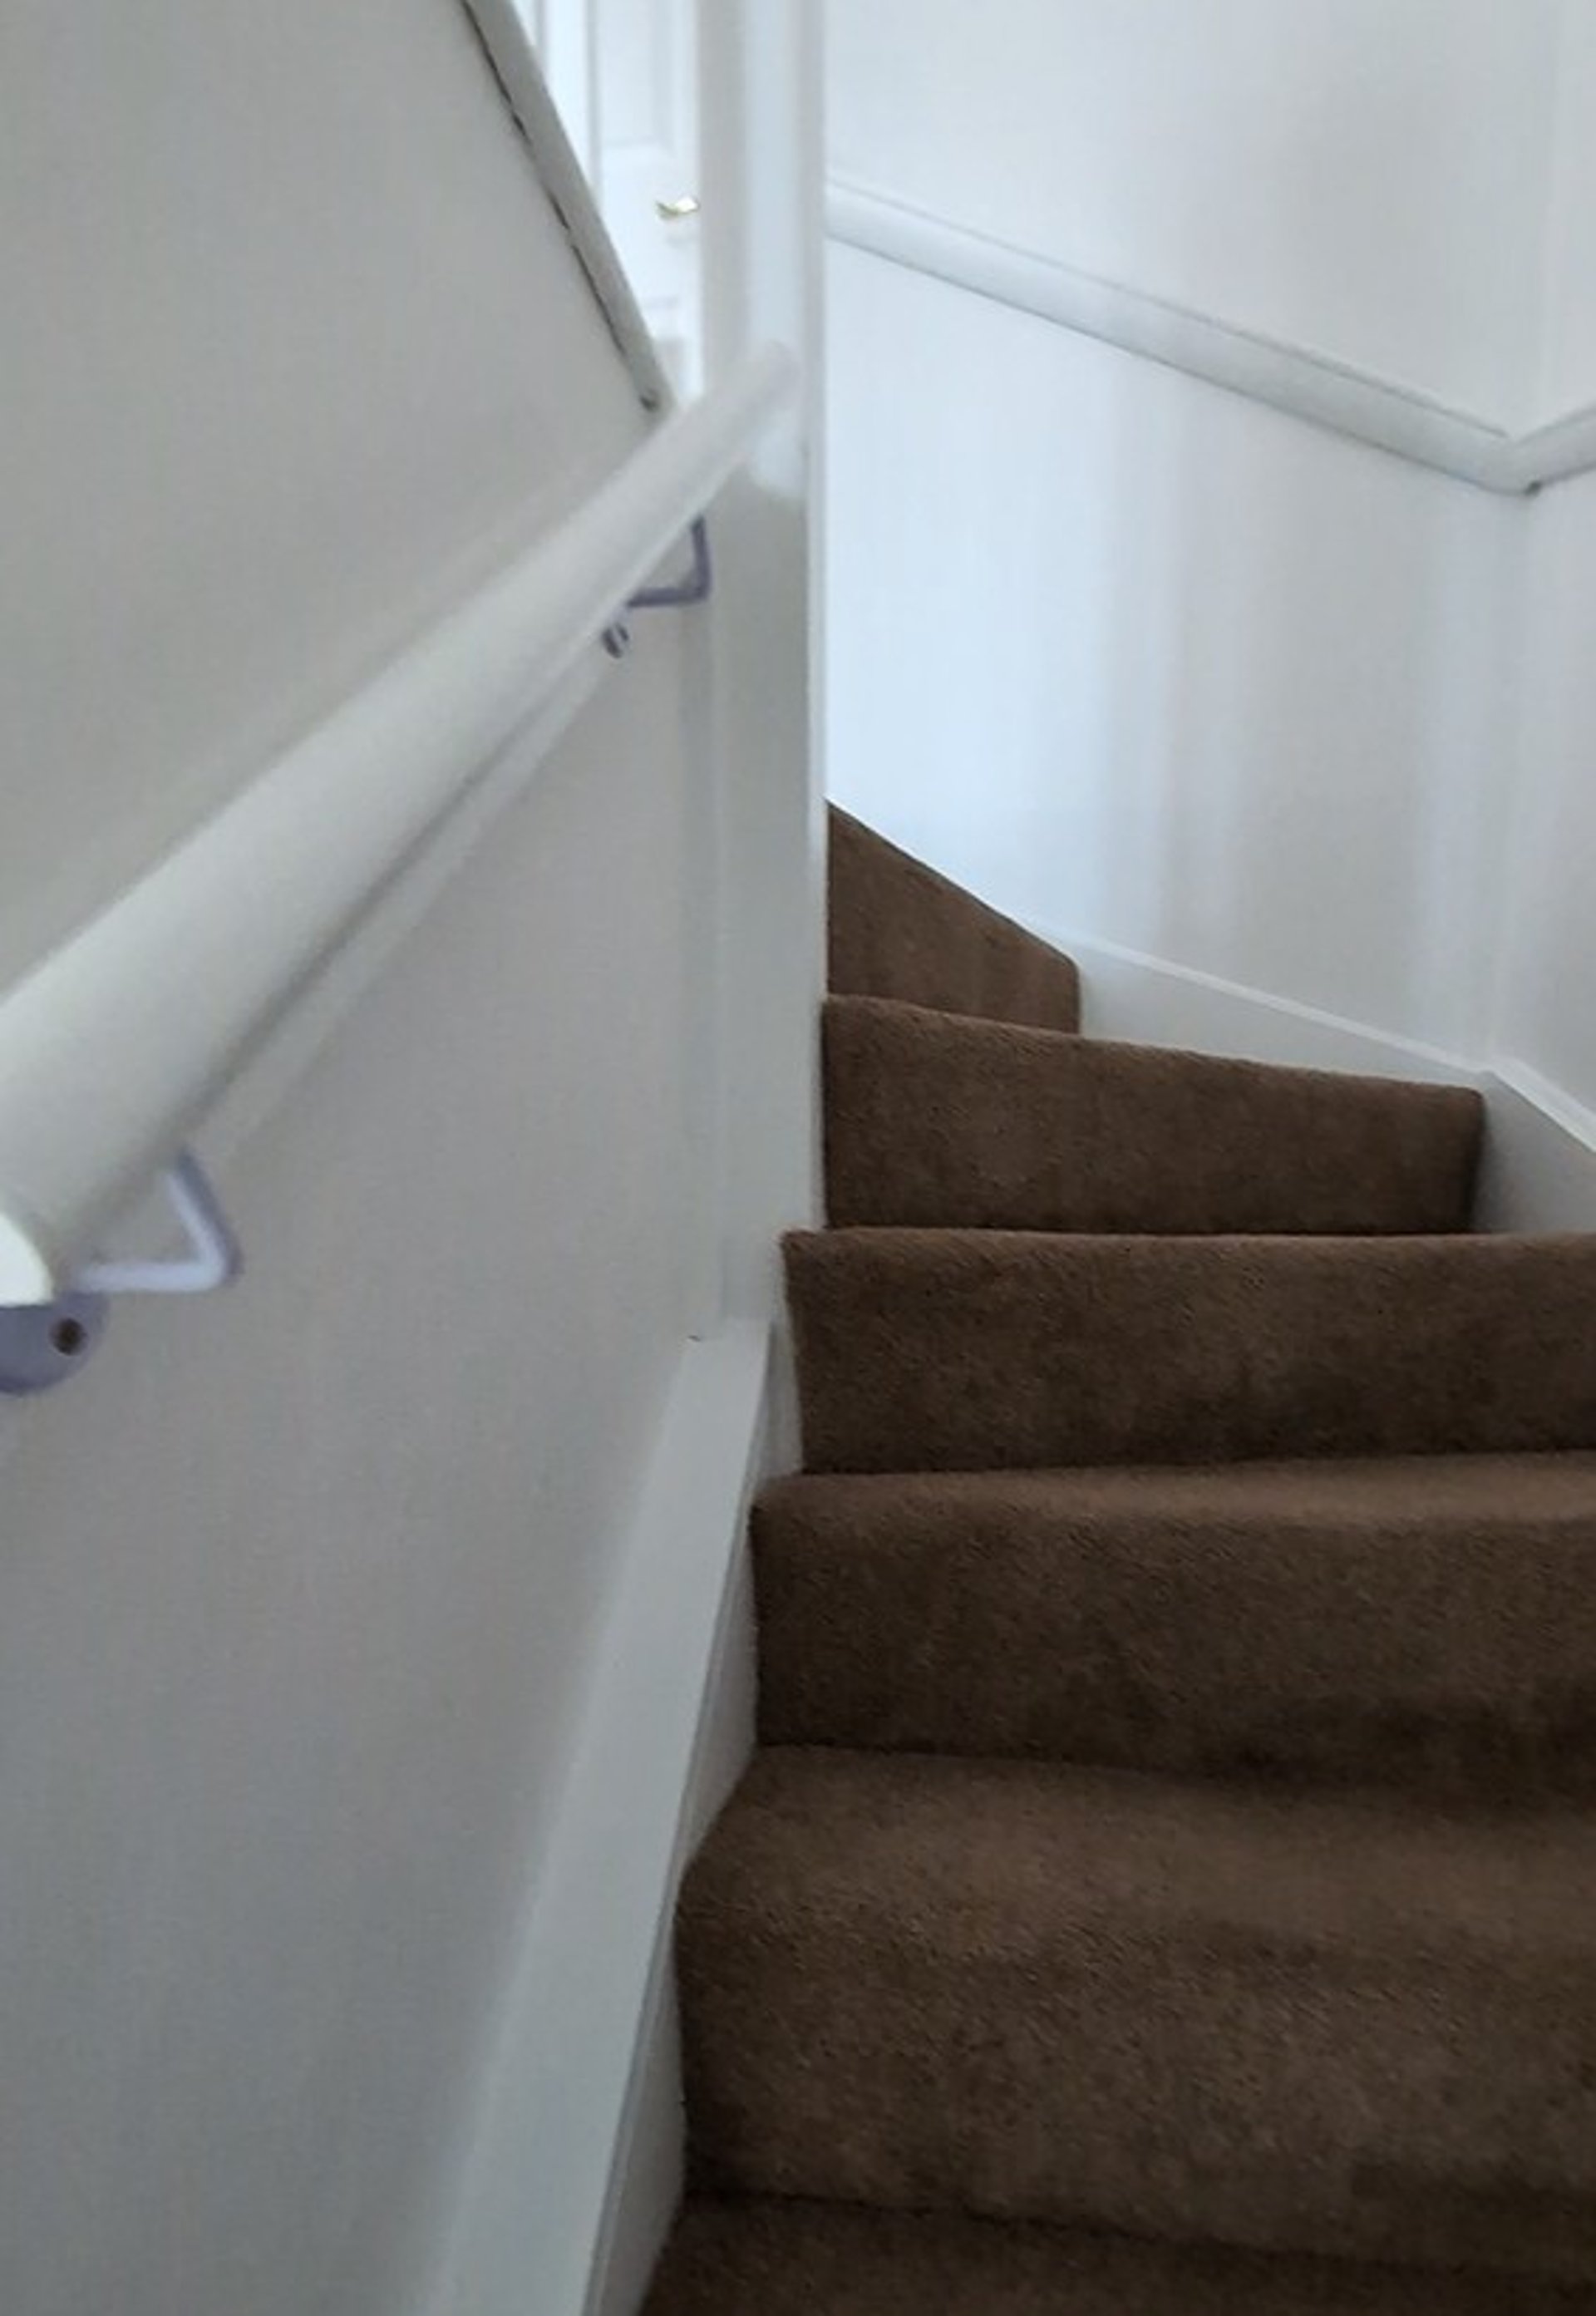
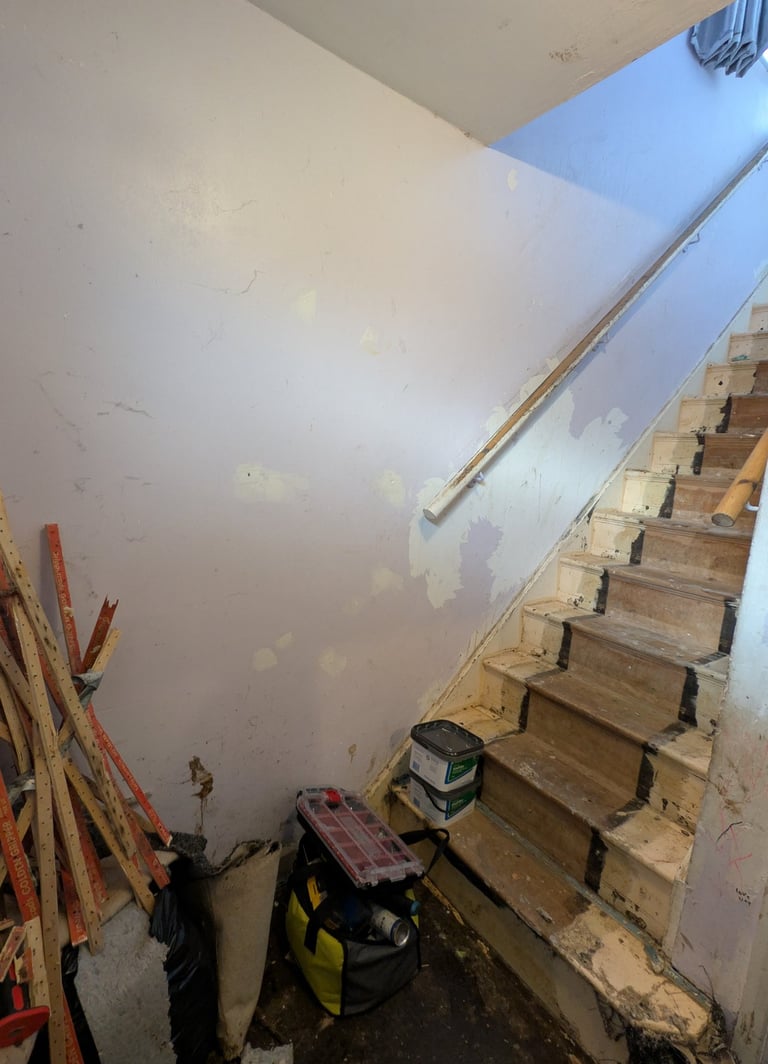
These two are from before and after videos of a staircase that was magnolia walls, and dark wood banisters, with added handrails. The whole staircase was brightened up with brilliant white on the walls, ceilings and all the woodwork
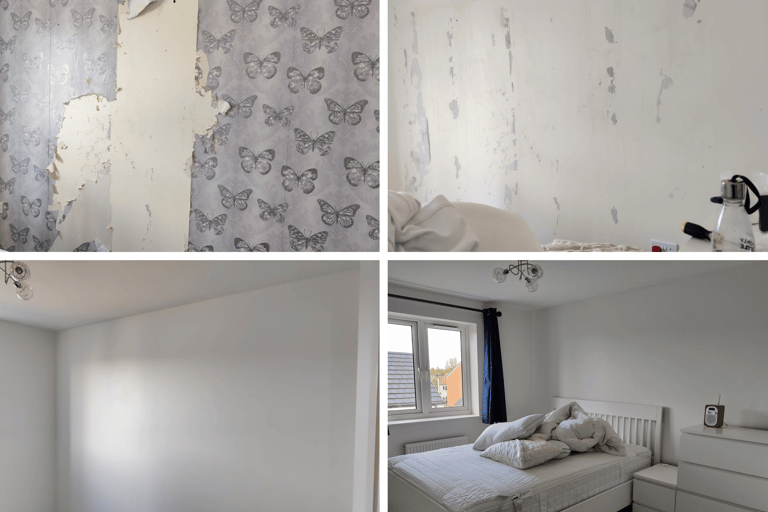
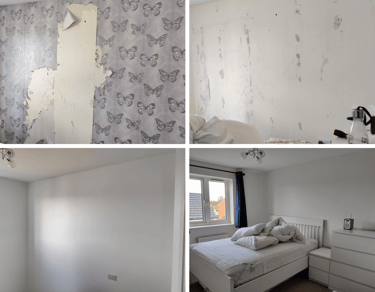
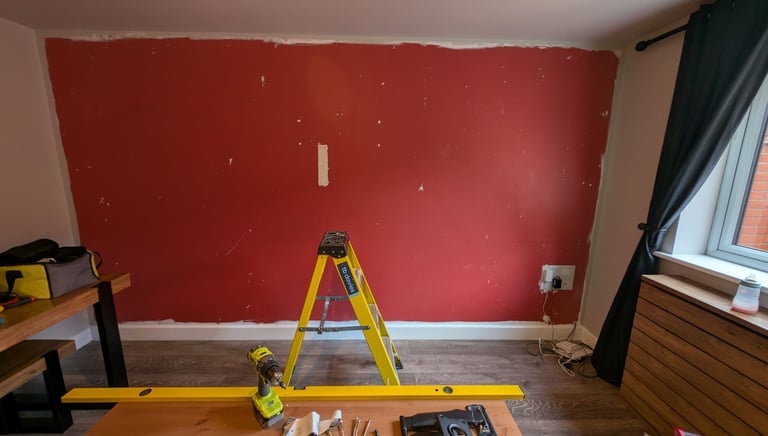
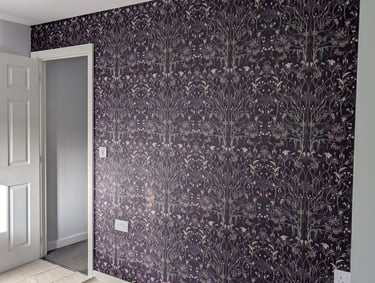
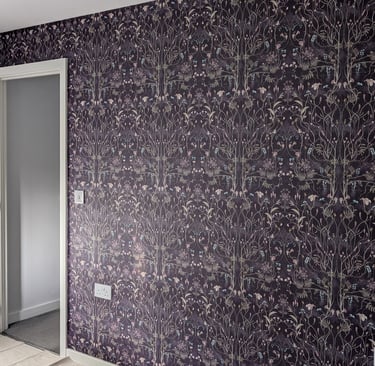
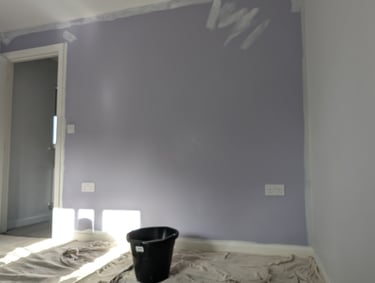
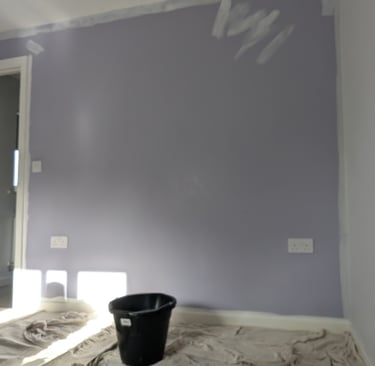
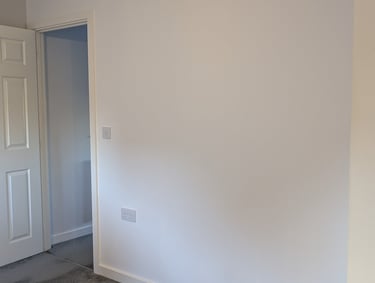
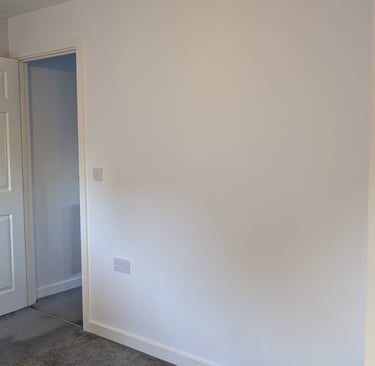
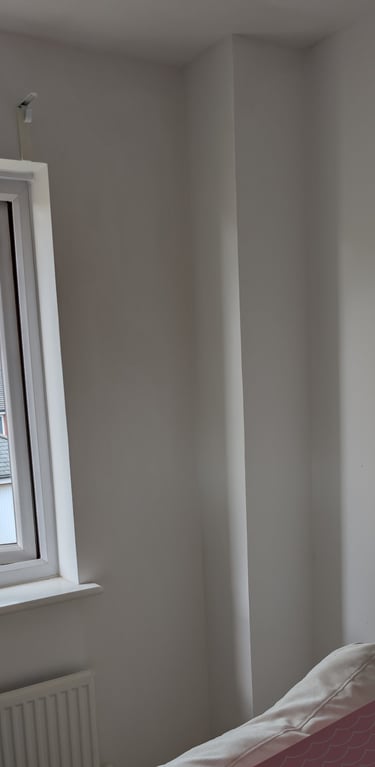
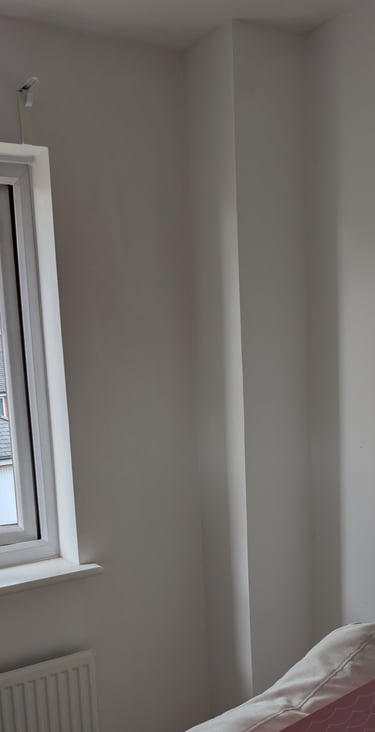
The photos below are before and afters from a bedroom that was an off white with one featured paper wall. We took the paper off, filled the holes from previous shelves and gave a clean finish in 'Cotton White' before the customer put new furniture in.